


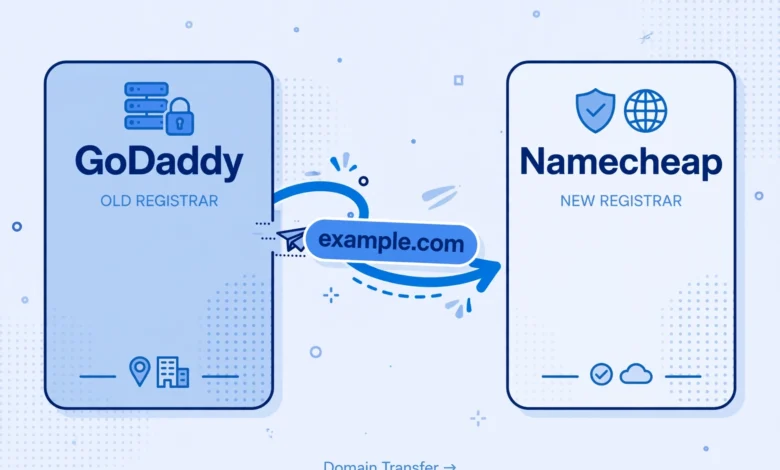
How to Transfer a Domain from GoDaddy to Namecheap
GoDaddy is where a lot of domains start their life. It is the registrar most beginners land on first, usually because of an aggressive first-year promo or a hosting bundle. But when renewal time comes, GoDaddy’s renewal prices and paid add-ons, like domain privacy, which costs extra there, send plenty of owners looking for a better deal. Namecheap is one of the most popular destinations, thanks to lower renewals and free WHOIS privacy on every domain.
Transferring a domain sounds technical, but it is really a four-step process: unlock the domain at GoDaddy, get your authorization code, start the transfer at Namecheap, and approve it. The whole thing takes about 15 minutes of actual work, plus a waiting period of up to five days while the registries process the move. Your website and email keep working during the transfer as long as you do not change your DNS, so there is no downtime to worry about.
Before you start, check two things. First, the domain must be more than 60 days old, and it must not have been transferred or had its registrant contact changed in the last 60 days. This is an ICANN rule that applies to every registrar, not a GoDaddy restriction. Second, make sure the admin email on the domain is one you can access, because approval emails go there.
Step 1: Unlock Your Domain at GoDaddy
Log in to your GoDaddy account and open the domain portfolio or domain list. Click the domain you want to transfer, then look for the domain settings or security section. You will find a Domain lock toggle, currently turned on. Switch it off.
GoDaddy may ask you to confirm with two-factor authentication. Once the lock shows as off, leave the tab open. Domain locks exist to prevent unauthorized transfers, so this step is mandatory, and Namecheap will not be able to pull the domain while the lock is on.
Do not change your nameservers or DNS records during the transfer. Your site stays live because DNS is separate from registration. The transfer only moves the billing and management of the domain, not where it points.
Step 2: Get Your Authorization (EPP) Code from GoDaddy
In the same domain settings area at GoDaddy, look for Transfer or Authorization code. GoDaddy labels it as the authorization code; the industry term is the EPP code. Click to reveal or send it, and GoDaddy will email the code to the domain’s administrative contact address.
Copy that code carefully, it is case-sensitive, and keep the email. You will paste it into Namecheap in the next step. If the email does not arrive within a few minutes, check spam, and verify the admin contact email is current in GoDaddy’s contact settings before requesting it again.
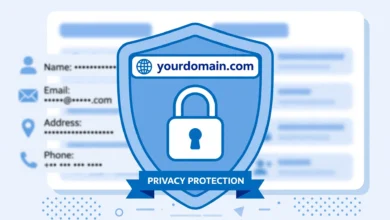
While you are here, note whether you have domain privacy enabled at GoDaddy. If privacy is on, the admin email shown in WHOIS is a proxy address, which can block the approval email. Temporarily disabling privacy at GoDaddy before the transfer avoids this headache. Good news: once the domain lands at Namecheap, you get privacy protection free forever, which is one of the reasons people make this move in the first place. We explain what that protection actually does in our guide to domain privacy protection.
Step 3: Start the Transfer at Namecheap
Log in to your Namecheap account, or create one if you do not have it yet. Go to the transfer page and enter your domain name. Namecheap will check that the domain is unlocked and eligible, then ask for the authorization code you got from GoDaddy. Paste it in and complete checkout. Transfer pricing is typically around the cost of a one-year renewal, and Namecheap adds a free year of registration to your domain as part of the transfer, so you are not paying for nothing.
During checkout, Namecheap will ask about renewing and about its free WhoisGuard privacy protection. Leave WhoisGuard on, it costs nothing and shields your personal details from the public WHOIS database from day one.
If you are moving the domain because you plan to point it at a new WordPress install, our cPanel WordPress setup guide covers what comes after the domain is yours: pointing DNS and getting WordPress running.
Step 4: Approve the Transfer
After you submit at Namecheap, two approval emails go out. First, Namecheap emails you to confirm you started the transfer. Second, and more important, GoDaddy emails the admin contact asking you to approve or decline the transfer away. Approve it. If you ignore GoDaddy’s email, the transfer still goes through automatically after five days, but approving it manually speeds everything up, often completing the move within a day.
GoDaddy sometimes presents this email with alarming language about losing services. Read it calmly. Approving only moves the domain registration. Your hosting, email, and DNS stay exactly where they are unless you change them separately.
One more GoDaddy-specific quirk: if you approve quickly, GoDaddy occasionally offers a retention discount to keep the domain. It is usually still more expensive than Namecheap’s renewal, but there is no harm in glancing at the offer. For a broader look at how the two companies compare on hosting as well as domains, see our Hostinger vs Namecheap breakdown, which covers Namecheap’s strengths across the board.
What Happens After the Transfer Completes
Once Namecheap confirms the transfer, the domain appears in your Namecheap dashboard with an extra year added to its registration. Verify three things:
- Nameservers are unchanged. Confirm the domain still points to your host’s nameservers so your site and email keep working.
- WhoisGuard is active. Check that free privacy protection is enabled on the domain.
- Auto-renew settings. Decide whether you want Namecheap to auto-renew the domain each year, and make sure your payment method is current.
Then re-lock the domain at Namecheap for security. The transfer automatically locks it at the new registrar in most cases, but verify, because an unlocked domain is a hijacking risk. If the domain move is part of a bigger relocation, for example moving your WordPress site to new hosting at the same time, the official Moving WordPress guide covers migrating your files and database safely.
Common Transfer Problems and Fixes
- “Domain is locked” error at Namecheap: the GoDaddy lock is still on. Go back and disable it, then wait 15 minutes and retry.
- Wrong or expired auth code: codes are case-sensitive and GoDaddy regenerates them on request. Request a fresh one and paste it carefully.
- Transfer stuck past 5 days: check that you approved GoDaddy’s confirmation email and that the admin email address was reachable. If both are fine, open a ticket with Namecheap support, they handle stuck transfers daily.
- 60-day rule blocking you: if the domain was registered or transferred within the last 60 days, you must wait. There is no workaround, it is ICANN policy.
- Privacy blocking approval emails: disable GoDaddy’s privacy shield temporarily so the real admin email receives the confirmation.
After the move, if this domain is heading toward a fresh WordPress site, run through our things to do after installing WordPress checklist so the new site launches with security, backups, and SEO basics in place.
Frequently Asked Questions
How long does a GoDaddy to Namecheap transfer take?
The hands-on work takes about 15 minutes. The registry processing takes up to 5 days, but if you approve GoDaddy’s confirmation email promptly, most transfers finish within 24 to 48 hours.
Will my website go down during the transfer?
No. A domain transfer moves only the registration between registrars. Your DNS, hosting, and email are untouched, so your site stays live the entire time. Just do not change nameservers mid-transfer.
Does transferring add a year to my domain?
Yes. ICANN requires the gaining registrar to add one year to the registration, and the transfer fee you pay at Namecheap covers that year. You never lose the time you already paid for.
Why is GoDaddy trying to stop my transfer?
It is not stopping it, it is following ICANN rules. The confirmation email and the warnings are standard procedure to prevent domain theft. Approving the email is safe and is the fastest way to complete the move.
Should I transfer or just update nameservers?
Different tasks. Updating nameservers points your domain at a new host while GoDaddy keeps billing you. Transferring moves the billing and management to Namecheap, which is what saves you money on renewals and gets you free privacy protection. You can do either one without the other.
Can I transfer a domain that is less than 60 days old?
No. ICANN prohibits transfers within 60 days of initial registration, a previous transfer, or a registrant contact change. If you are inside that window, wait it out, then follow the steps above.


2 Comments