

Selling a T-shirt in five sizes and four colors should not mean creating twenty separate products in your store. That is exactly what WooCommerce product variations solve: one product listing with dropdown menus that let customers pick their size, color, or any other option. Each combination can have its own price, stock level, image, and SKU. In this guide you will learn how to add product variations in WooCommerce step by step – from creating attributes, to generating variations, to setting prices and stock for each one.
What Are Product Variations in WooCommerce?
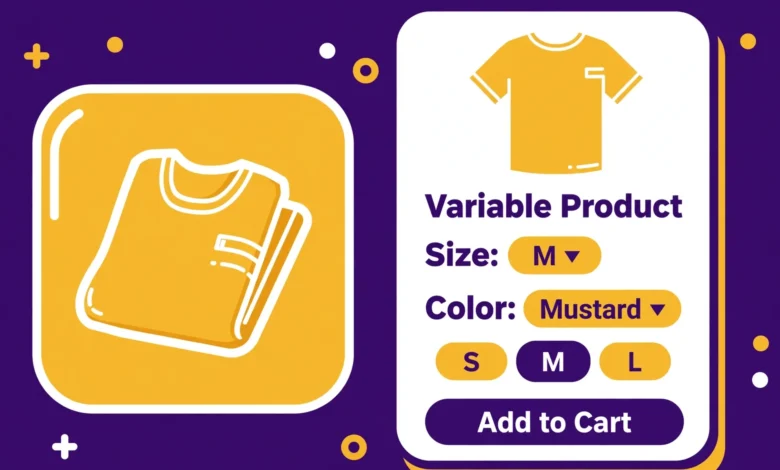
A variation is a specific version of a product: for example, a T-shirt that is Large and Red is one variation; Medium and Blue is another. Instead of listing each combination as its own product (which would clutter your shop and confuse customers), WooCommerce groups them under one product of the type Variable product. Shoppers see dropdown menus on the product page, pick their options, and the price, image, and stock update to match their selection. Variations are one of the core WooCommerce features, and they work with the free plugin – you can get it from the official WooCommerce plugin page if you have not installed it yet.
What Are Attributes, and How Do They Differ from Variations?
Think of attributes as the option categories and variations as the actual combinations. Attributes are things like Size (Small, Medium, Large) or Color (Red, Blue, Green). Variations are the real products you sell: Small-Red, Medium-Blue, and so on. You define attributes first, then tell WooCommerce to generate every combination as a variation. There are two kinds of attributes:
- Global attributes – created once under Products – Attributes and reusable across many products. Use these for options you repeat everywhere, like Size and Color.
- Custom product attributes – created inside a single product’s settings, used only by that product. Use these for one-off options, like a laptop’s warranty add-on.
For a store with consistent options (clothing, shoes, accessories), global attributes save a lot of time and keep your product data clean.
Step 1: Create Global Attributes (Recommended)
- Go to Products – Attributes in your dashboard.
- In the Name field, enter something like Size and click Add attribute.
- Now click Configure terms on the Size attribute.
- Add each value one by one: Small, Medium, Large, X-Large. Click Add new Size after each.
- Repeat for Color: Red, Blue, Green, Black.
Step 2: Create a Variable Product
- Go to Products – Add New.
- Give the product a name and description.
- In the Product data dropdown (top of the product settings panel), change Simple product to Variable product.
- Set a featured image and add it to a category as usual.
Step 3: Add Attributes to the Product
- Click the Attributes tab in the product data panel.
- Select Size from the dropdown and click Add.
- Select the terms that apply to THIS product (maybe all four sizes).
- Check Used for variations – this checkbox is essential. Without it, the attribute becomes display-only text and no variations can be created from it.
- Click Add again for the Color attribute and repeat.
- Click Save attributes.
If you need an attribute unique to this product instead, choose Custom product attribute from the same dropdown, name it, type the values separated by the pipe character (|), and still check Used for variations.
Step 4: Generate the Variations
- Click the Variations tab in the product data panel.
- From the dropdown, choose Create variations from all attributes and click Go.
- Confirm when asked. WooCommerce now creates every combination – with 4 sizes and 4 colors, that is 16 variations.
Warning: combinations multiply fast. Five sizes and six colors means 30 variations. If you genuinely need that many, fine – but do not add an attribute term “just in case”, because every extra term multiplies the total. You can also add variations manually one at a time with Add manually if you only sell certain combinations (for example, X-Large only comes in Black).
Step 5: Set Price, Stock, SKU, and Images per Variation
- Click each variation row to expand it.
- Regular price – set a price for every variation, or leave some blank and set a default product price. If prices differ, the product page shows a price range (for example, $20 – $25).
- SKU – give each variation a unique code (for example, TSHIRT-L-RED). Useful for inventory and order management.
- Stock – enable Manage stock and enter the quantity for that variation. Customers cannot order a combination that is out of stock.
- Image – click the variation’s image icon and upload a photo. When a customer picks that color, the product photo switches to match – a small touch that boosts conversions.
- When done, click Save changes (top right of the Variations tab).
Should You Set Default Form Values?
Back on the Variations tab, the Default Form Values dropdowns let you pre-select one combination when the page loads. This is optional but recommended: it shows a starting price immediately instead of a price range, and it gives customers a visual example right away. Pick your most popular combination (for example, Medium – Black) as the default. The full process is documented in the official WooCommerce variable product guide.
Troubleshooting: Variations Not Showing Up
- The attribute dropdowns are missing on the product page. Go back to the Attributes tab and confirm Used for variations is checked for every attribute. This is the number one cause.
- Variations were never generated. Open the Variations tab – if the list is empty, use “Create variations from all attributes” and click Save changes.
- Some combinations are unavailable. A variation with no price set, or with stock at 0 and stock management enabled, cannot be selected. Either set its price and stock or delete that variation row.
- Price shows a range instead of one price. That is normal when variations have different prices. To show a single price, make all variation prices identical.
Tips for Managing Variations at Scale
- Bulk edit: the Variations tab has a bulk actions dropdown – select several variations and set prices, stock status, or sale prices for all of them at once instead of opening each row.
- Keep SKUs consistent: a pattern like PRODUCT-SIZE-COLOR makes warehouse picking and support tickets far easier.
- Watch your variation count: products with hundreds of variations slow down the product editor. If you need that many, consider splitting the product or using a dedicated variation-swatches plugin.
Once your products are set up properly, pricing tools become much more powerful – for example, our guide on how to create coupon codes in WooCommerce works perfectly with variable products, letting you discount specific variations during sales. And if you sell in Pakistan, local payment setup matters just as much: our JazzCash and Easypaisa guide for WooCommerce walks through mobile wallet payments, while the cash on delivery setup covers COD for variable products.
Frequently Asked Questions
How many variations can a WooCommerce product have?
Technically there is no hard limit, but performance drops with very large counts – a few hundred variations make the product editor slow. The practical advice: keep it under about 50 per product. If you need more, split the product or look into a bulk variation management plugin.
Why are my WooCommerce variations not showing on the product page?
The most common cause is the “Used for variations” checkbox being unchecked on the Attributes tab. Other causes: variations were never generated from the Variations tab, or the variation has no price or zero stock. Check all three and click Save changes.
Can each variation have a different price and image?
Yes. Expand any variation row to set its own regular and sale price, SKU, stock quantity, weight, dimensions, and image. The product page updates the price and photo automatically as the customer selects options.
Do I need a plugin to add product variations in WooCommerce?
No. Variable products, attributes, and variations are all built into the free WooCommerce plugin. Paid plugins only add extras like color/size swatches, bulk variation tools, or variation-level descriptions.
Last updated: October 2026.