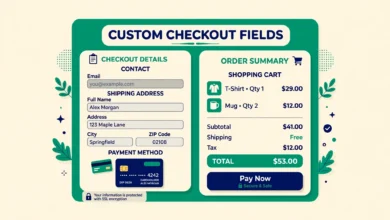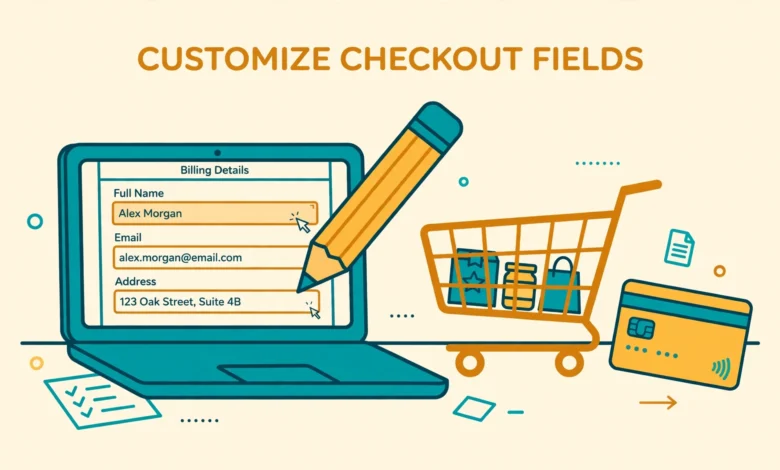
Every WooCommerce store asks customers for the same checkout details, but very few stores actually need all of them. The default form asks for a company name, two address lines, a phone number, and order notes. If you sell digital downloads, you may not need a billing address at all. If you sell to consumers, the company field just adds friction. Every extra field is one more reason for a customer to abandon the cart.
The good news is that you can change almost everything about the checkout form without installing another plugin. WooCommerce gives you two routes. The block checkout has built in settings for showing, hiding, and marking fields as optional. The classic checkout has a filter called woocommerce_checkout_fields that lets you rename labels, change placeholders, and remove fields with a few lines of PHP. This guide covers both routes, so you can pick the one that matches your store.
What Can You Change on the WooCommerce Checkout Form?
Before you start editing, it helps to know exactly what is possible. The checkout form is made of field groups: billing, shipping, and order notes. Each field has properties such as a label, a placeholder, a required flag, and a priority that controls its position. You can change any of these properties, and you can remove a field entirely.
- Rename a field label, for example changing “Company name” to “Business name”.
- Change the placeholder text inside a field to give customers a clearer hint.
- Make a field optional, such as the phone number, or make an optional field required.
- Remove a field you do not need, such as the company field or the second address line.
- Reorder fields so the most important ones appear first.
- Add a completely new field, such as a delivery date or a VAT number.
Which method you use depends on which checkout your store runs. New installs use the block checkout, which you edit visually. Older stores use the classic shortcode checkout, which you customize with the filter. The two methods do not mix: the filter in this guide only affects the classic checkout. Open your Checkout page in the editor to check. A Checkout block means block checkout, while a shortcode means classic checkout. For a broader look at shaping the checkout experience, see our guide to customize the WooCommerce thank you page without a plugin.
How to Customize Checkout Fields in the Block Checkout
The block checkout is the easiest place to start, because everything happens in the editor with no code at all. WooCommerce added field controls to the Checkout block so store owners can adjust the form without touching PHP. The options are more limited than the filter, but they cover the changes most stores need.
- Go to Pages, then Checkout, and click Edit to open the page in the block editor.
- Click once on the Checkout block to select it, then look at the settings panel on the right.
- Open the Contact Information section to set the phone number as optional or required.
- Open the Company section to show or hide the company field.
- Open the Address section to show or hide the second address line.
- Click Update to save the page, then test the checkout as a customer to confirm the changes.
These settings are simple, but they have limits. You cannot rename a field label in the block checkout, you cannot change placeholder text, and you cannot remove core fields such as first name, last name, email, or country. If you need any of those changes, switch to the classic checkout and use the filter, or use a dedicated checkout field editor plugin. For most small stores, though, the block settings are enough. Hiding the company field and making the phone optional already shortens the form noticeably. Our guide to recover abandoned carts in WooCommerce for free explains what else you can do when customers still leave before paying.
How to Customize Checkout Fields With the woocommerce_checkout_fields Filter
The classic checkout is controlled by a WordPress filter named woocommerce_checkout_fields. A filter is a hook that lets you change data before WordPress uses it. In this case, WooCommerce passes the full list of checkout fields through the filter, your function changes the list, and WooCommerce builds the form from your changed version. You only need one small function to rename a label, change a placeholder, make a field optional, and remove a field.
Never add this code to your parent theme files, because a theme update will wipe it out. Add it to a child theme functions.php file instead, or use the free Code Snippets plugin, which lets you add PHP from the dashboard and turn it on or off with one click. If you do not have a child theme yet, our guide on how to create a WordPress child theme walks you through it in a few minutes.
add_filter( 'woocommerce_checkout_fields', 'vutg_customize_checkout_fields' );

function vutg_customize_checkout_fields( $fields ) {
    // Rename the street address label.
    $fields['billing']['billing_address_1']['label'] = 'House number and street name';

    // Change the placeholder text for the town and city field.
    $fields['billing']['billing_city']['placeholder'] = 'Your town or city';

    // Make the phone field optional.
    $fields['billing']['billing_phone']['required'] = false;

    // Remove the company field completely.
    unset( $fields['billing']['billing_company'] );

    return $fields;
}
Each line in the snippet changes one property of one field. The first line renames the label above the street address field. The second line changes the placeholder text inside the city field. The third line sets the phone field to optional, so customers can complete checkout without entering a number. The fourth line removes the company field entirely. The function must return the fields array at the end, or WooCommerce will receive nothing and the checkout will break, so never delete that return line.
The field keys follow a simple pattern. Billing fields start with billing, shipping fields start with shipping, and the order notes field lives in the order group. Common keys are billing_first_name, billing_last_name, billing_company, billing_address_1, billing_address_2, billing_city, billing_postcode, billing_country, billing_phone, and billing_email. The official WooCommerce developer documentation at developer.woocommerce.com lists every field and explains the full structure of the fields array.
How to Make a Checkout Field Required or Optional
The phone field causes the most debate, because WooCommerce makes it required by default. For stores that ship physical products, a phone number helps the courier, so keeping it required makes sense. For digital products, or for stores that only need an email address, forcing a phone number adds friction for no benefit. The snippet above shows the fix: set the required property to false for billing_phone, and the field becomes optional. You can do the same in reverse. If you want the second address line to be required, set required to true for billing_address_2.
Be careful with the email field. It must stay required, because WooCommerce needs it to send the order confirmation and to create the customer account. The same applies to the country field, which WooCommerce needs to calculate taxes and shipping. Change required flags only for fields your store can genuinely do without, and always place a test order after the change. If you sell products with size or color choices, our guide to WooCommerce product variations shows how to keep those options clear at checkout too.
How to Remove a Field From the Checkout Form
Removing a field is a one line job with the filter: unset the field key and return the array. The company field is the most common removal, because most consumer stores never use it. The second address line is another popular removal, since most customers fit their full address on one line. You can also remove the order notes field by unsetting the order_comments key in the order group, which suits stores that never read customer notes.
Before you remove a field, think about what depends on it. The shipping address fields feed your shipping labels, so removing the shipping city or postcode will break label generation. The billing country feeds tax calculation, so it must stay. A safe rule is to remove only informational fields, such as company, address line 2, and order notes, and to keep every field that affects payment, tax, or delivery. If you are unsure, hide the field in the block checkout settings first and watch your orders for a week.
How to Reorder Checkout Fields
Every checkout field has a priority number that decides where it appears in the form. Lower numbers appear first. The first name field has a priority of 10, last name 20, company 30, country 40, address line 1 is 50, and so on up to the phone field at 100. To move a field, change its priority to a number that puts it where you want it. For example, setting the phone priority to 25 places the phone field right after the last name field. A fast host also helps mobile checkout, as our web hosting guide explains.
Common Mistakes to Avoid When Customizing Checkout Fields
Checkout customization is simple, but a few mistakes can break the whole purchase flow. The most damaging one is editing the parent theme directly. Theme updates overwrite functions.php, so your checkout changes vanish without warning. Always use a child theme or the Code Snippets plugin, and keep a note of which snippet controls the checkout so you can find it later.
- Editing the parent theme instead of a child theme or a code snippet, so updates erase your changes.
- Removing the billing email or country field, which breaks order confirmation and tax calculation.
- Forgetting the return statement in the filter function, which empties the fields array and breaks checkout.
- Applying the classic checkout filter while using the block checkout, then wondering why nothing changed.
- Making every field optional, which leaves you without the details your courier needs to deliver the order.
- Skipping a test order after each change, so a broken checkout stays live until a customer complains.
The last item deserves emphasis. A checkout change is not finished until you have placed a real test order with it. Use a low value product or a 100 percent discount coupon to test, and check that the order appears in WooCommerce, then Orders, with the right details. Our guide on how to create a coupon code in WooCommerce shows how to set up a test coupon in a minute. If you use coupons for testing, remember to delete or disable the test coupon afterwards.
Frequently Asked Questions
Can I customize WooCommerce checkout fields without a plugin?
Yes. In the block checkout, use the Checkout block settings to show or hide the company field and address line 2, and to make the phone optional or required. In the classic checkout, use the woocommerce_checkout_fields filter with a small snippet in a child theme or the Code Snippets plugin. Neither route needs a dedicated checkout field editor plugin.
Why does the woocommerce_checkout_fields filter not change my checkout?
The filter only affects the classic shortcode checkout. If your store uses the block checkout, the filter has no effect at all. Check whether your Checkout page contains a Checkout block or a shortcode. If it is a block, use the block settings instead, or switch the page to the classic checkout before using the filter.
How do I make the phone number optional at WooCommerce checkout?
In the block checkout, select the Checkout block, open Contact Information, and set the phone number to optional. In the classic checkout, add a filter that sets the required property of billing_phone to false. Either way, place a test order afterwards to confirm checkout completes without a phone number.
Is it safe to remove the company field from WooCommerce checkout?
Yes, for most consumer stores it is completely safe. The company field is informational and nothing in WooCommerce depends on it. Remove it with unset in the filter, or hide it in the block checkout settings. Keep it only if you sell to businesses and need the company name for invoices.
Last updated: November 2026.