


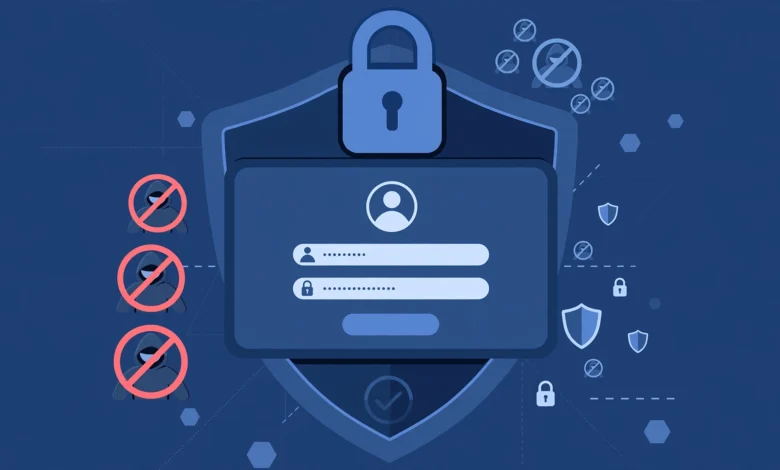
Every day, thousands of WordPress sites face automated login attacks. Bots hammer the wp-login.php page with hundreds of username and password combinations, hoping to guess their way into an admin account. The good news is that you can learn how to limit login attempts in WordPress without a plugin, using one small code snippet that locks out attackers after a few failed tries. In this guide, I will walk you through the whole process step by step, even if you have never touched a line of code before.
Why Limiting Login Attempts Matters
By default, WordPress lets anyone try to log in as many times as they want. There is no built-in speed bump. That makes your login page an easy target for brute force attacks, where a bot systematically tries common usernames like “admin” paired with thousands of passwords from leaked lists.
If just one combination works, the attacker gains full control of your site. They can deface pages, steal customer data, send spam from your server, or install malware that gets your domain blacklisted by Google. Limiting login attempts is one of the simplest and most effective defenses because it turns an unlimited guessing game into a dead end after five wrong tries.
Most security plugins offer this feature, but they also add weight to your site. If all you need is login protection, a lightweight code snippet does the same job with zero performance cost.
How Login Attempt Limiting Works
The idea is simple. Every time someone fails to log in, WordPress records the attempt against their IP address. Once the count reaches a limit you choose, usually five, that IP address is blocked from trying again for a set period, usually one hour. Real users who mistype a password once or twice never notice anything. Bots that try hundreds of passwords get shut out almost immediately.
Our snippet stores the attempt count in a WordPress transient, which is a temporary value saved in the database with an automatic expiry time. No extra tables, no settings pages, and nothing to maintain.
Method 1: Add a Code Snippet (Recommended)
This is the safest way to add custom code to WordPress. Instead of editing your theme’s functions.php file directly, which gets overwritten every time the theme updates, we will use the free Code Snippets plugin. It gives you a safe place to store the code with an on and off switch, so you can disable it instantly if anything goes wrong.
Step 1: Install the Code Snippets Plugin
- Log in to your WordPress dashboard. If you are new to the dashboard layout, this WordPress dashboard tour for beginners will help you find your way around.
- Go to Plugins and click Add New.
- In the search box, type Code Snippets.
- Find the plugin by Code Snippets Pro, click Install Now, then click Activate.
Step 2: Add the Login Limit Snippet
- In the dashboard menu, go to Snippets and click Add New.
- Give the snippet a clear title, for example “Limit Login Attempts”.
- Copy the code below and paste it into the code box.
- Under the code box, make sure Run snippet everywhere is selected.
- Click Save Changes and Activate.
// Limit login attempts in WordPress without a plugin
// Paste this into the Code Snippets plugin and activate it

// Count failed logins per IP address
add_action( 'wp_login_failed', 'vtg_count_failed_login' );
function vtg_count_failed_login( $username ) {
    $ip  = $_SERVER['REMOTE_ADDR'];
    $key = 'vtg_failed_' . md5( $ip );

    $attempts = (int) get_transient( $key );
    $attempts++;

    // Remember the count for 1 hour
    set_transient( $key, $attempts, HOUR_IN_SECONDS );
}

// Block the IP after 5 failed attempts
add_filter( 'authenticate', 'vtg_block_after_too_many_attempts', 30, 3 );
function vtg_block_after_too_many_attempts( $user, $username, $password ) {
    $ip       = $_SERVER['REMOTE_ADDR'];
    $key      = 'vtg_failed_' . md5( $ip );
    $attempts = (int) get_transient( $key );

    if ( $attempts >= 5 ) {
        return new WP_Error(
            'too_many_attempts',
            'Too many failed login attempts. Please try again in an hour.'
        );
    }

    return $user;
}
Here is what the code does. The first half hooks into WordPress’s failed login event and increases a counter for the visitor’s IP address, storing it for one hour. The second half checks that counter on every login attempt and stops the login with a clear error message once the count reaches five.
Want a stricter or friendlier limit? Change the number 5 to whatever you prefer, and change HOUR_IN_SECONDS to 30 * MINUTE_IN_SECONDS for a 30 minute lockout or DAY_IN_SECONDS for a full day.
Step 3: Test That It Works
- Keep one browser tab logged in to your dashboard, just in case.
- Open a private or incognito window and go to your login page.
- Enter a wrong password five times in a row.
- On the fifth attempt you should see the message: “Too many failed login attempts. Please try again in an hour.”
- Even the correct password will now be rejected until the hour passes, which proves the block is working.
If you ever lock yourself out during testing, just wait for the hour to pass. The block clears itself automatically, so there is nothing to reset manually.
Method 2: Add a Second Layer With .htaccess (Advanced)
The code snippet above handles attempt counting, which a .htaccess file cannot do on its own. But if your site runs on Apache hosting with cPanel, you can add a second layer of defense: password-protect the wp-login.php file itself with HTTP basic authentication. Attackers then face two locked doors instead of one.
Most quality hosts let you do this from cPanel under Directory Privacy without touching any code. If you are still choosing a host, look for one with solid server-level security features in our web hosting comparison. Only attempt the manual .htaccess route if you are comfortable editing server files, because a mistake here can lock everyone out.
5 More Ways to Harden Your WordPress Login
Limiting login attempts is a great start, but real security comes in layers. Add these habits on top of the snippet:
- Use a strong, unique admin password. A password manager makes this painless. Never reuse a password from another site.
- Do not use “admin” as your username. It is the first username every bot tries. Create a new administrator account with a unique name and delete the old one.
- Enable two-factor authentication. Even if someone guesses your password, they still cannot get in without your phone.
- Keep WordPress, themes, and plugins updated. Most hacked sites are compromised through outdated software, not guessed passwords.
- Choose a host with server-level protection. Good hosts block malicious IPs before they ever reach your site. See our best web hosting comparison for 2026 to pick one with strong security.
Frequently Asked Questions
Will this lock me out of my own site?
Only if you enter the wrong password five times within an hour. If that happens, wait sixty minutes and the block clears automatically. While testing, keep one logged-in admin tab open so you always have a way back in.
How many failed attempts should I allow?
Five is a good balance for most sites. Real users rarely mistype more than twice, so five gives honest visitors plenty of room while stopping bots fast. High-traffic membership sites sometimes use three for extra strictness.
Do I still need a security plugin after adding this snippet?
Not necessarily. If login protection was the only reason you wanted a security plugin, this snippet covers it with far less overhead. Larger sites with shops or sensitive data may still want a full security suite for malware scanning and firewall rules, but for most blogs this snippet plus the habits above is enough.
Last updated: October 2026.
Related Guides



One Comment