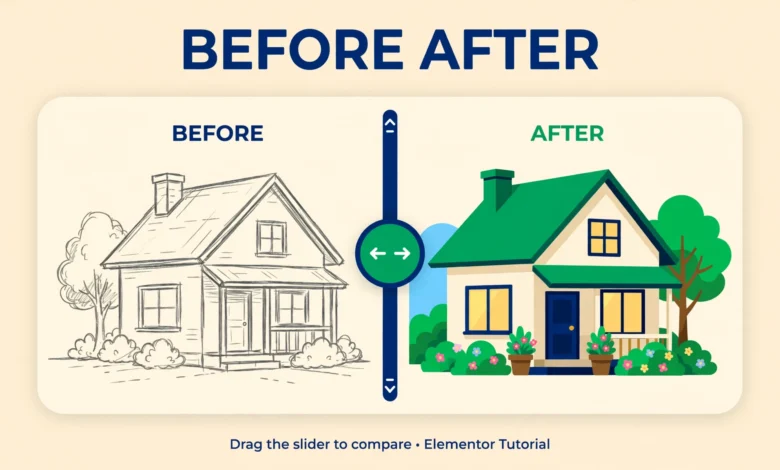
A before and after image comparison slider lets visitors drag a handle across two images to see the change between them. It is one of the most persuasive elements you can add to a page, because it shows proof instead of describing it. In every case the visitor controls the comparison, which makes the result feel real and honest in a way that a single image never can.
There is one catch. Elementor free has no built in before and after widget, and Elementor Pro does not have one either. That surprises many users, because the comparison slider feels like a basic feature. The good news is that you can still add a before after image comparison slider in Elementor free, using free addon plugins that add the widget to your Elementor panel. In this guide you will learn how to do it with three free addons: Master Addons, Responsive Addons, and Sky Addons.
Does Elementor Free Have a Before and After Widget?
No. Elementor free does not include a before and after image comparison widget, and Elementor Pro does not include one either. The Pro version adds many widgets, including forms, sliders, and popups, but the comparison slider is still missing. This is a known gap, and it is the reason addon developers built their own comparison widgets. Before you spend money on Pro for this one feature, try the free addons in this guide, because they give you the widget at no cost.
One warning matters here. Some tutorials tell you to paste JavaScript into an HTML widget to build a comparison slider by hand. A free addon widget is a better choice for most users, because it is tested with Elementor, it gives you settings in the panel, and it keeps working after updates. If you want to understand what Elementor free does and does not include before you choose an addon, read our comparison of Elementor free vs Pro.
How Do You Add a Comparison Slider With Master Addons?
Master Addons for Elementor is a free addon plugin with more than 70 widgets, including an Image Comparison widget that works with Elementor free. Install it from the WordPress plugin directory by going to Plugins, then Add New, and searching for Master Addons for Elementor. Install and activate it, then open any page with Elementor. You will find new widgets in the left panel, including the Image Comparison widget under the Master Addons group.
Drag the Image Comparison widget into a section on your page. In the Content tab, upload your before image and your after image. Set the before label and the after label, for example Before and After, or Old Design and New Design. Choose whether the divider starts in the middle or off to one side, and choose the orientation. Horizontal is the usual choice, with the divider moving left and right.
- Use two images with the same size and the same framing, so the comparison lines up perfectly.
- Keep the labels short, because long labels cover the image on small screens.
- Set the divider to start at 50 percent unless one side deserves more attention.
- Test the drag handle on a phone, because touch dragging is how most visitors will use it.
Keep in mind that every addon plugin adds some weight to the editor, so activate only the widgets you need if the plugin offers that option. After you finish, click Update, then open the page in a private browser window and drag the handle to confirm it moves smoothly. For a related free widget guide, see our article on how to add a testimonial slider in Elementor free.
How Do You Add a Comparison Slider With Responsive Addons?
Responsive Addons for Elementor is another free addon plugin, made by the team behind the Astra theme. It includes a Before After Slider widget that works with Elementor free. Install it from the WordPress plugin directory by searching for Responsive Addons for Elementor, then install and activate it. Open your page with Elementor and look for the Before After Slider widget in the left panel.
Drag the Before After Slider widget into your section. Upload the before image and the after image in the Content tab. You can set the labels for each side, choose the handle style, and set the starting position of the divider. In the Style tab you can adjust the divider width and colour, the handle size, and the label background, so the slider fits your page design.
One advantage of Responsive Addons is its small size. It adds a useful set of widgets without loading a huge library, which keeps the editor fast. Whichever addon you choose, do not install both at once for the same job, because two addons that both add comparison widgets can confuse the panel and add duplicate code. Pick one, learn its settings, and use it on every comparison slider on your site.
How Do You Add a Comparison Slider With Sky Addons?
Sky Addons for Elementor is a newer free addon plugin that includes an Image Compare widget. Install it from the WordPress plugin directory by searching for Sky Addons for Elementor, then install and activate it. Open your page with Elementor and find the Image Compare widget in the left panel under the Sky Addons group.
Drag the Image Compare widget into a section. Upload your before and after images, set the labels, and choose the divider position. In the Style tab you can change the handle shape, the divider colour and thickness, the label typography, and the border radius.
Because Sky Addons is newer than the other two, check its ratings and last update date in the plugin directory before you install it, and make sure it is tested with your version of WordPress and Elementor. If you are still learning how Elementor structures pages, our guide on Elementor containers vs sections explains the layout system the widget sits inside.
How Do You Prepare Before and After Images?
Good comparison sliders start with good image pairs. The two images must show the same scene from the same angle, with the same framing and the same size. If the before photo was taken from a different spot than the after photo, the slider will look wrong, because objects will jump when the divider moves. Use the same dimensions for both files, for example 1200 by 800 pixels, so the slider container stays stable.
Compress both images before you upload them. Two large images in one widget can double the weight of that section, so aim for under 200 KB per image when possible. Use clear file names such as kitchen-before.jpg and kitchen-after.jpg, and write descriptive alt text for both images. Our guide on how to compress images in WordPress without a plugin shows how to shrink files without losing visible quality.
How Do You Style the Comparison Slider?
Styling matters because the handle and the labels are the parts visitors touch and read. Choose a handle colour that stands out against both images, such as white with a dark border, or your brand colour. Make the handle large enough to grab on a phone, at least 40 pixels wide, and keep the divider line visible but thin, so it does not hide the image. Use short labels such as Before and After, and place them in the corners where they do not cover the main subject.
Set the slider width to match your content area, and do not stretch it wider than the images, because stretching blurs them. Add a little space above and below the widget so it does not crowd the text around it. If your page uses rounded corners on images, match the slider border radius to the same value so the design stays consistent. For more ideas on image widgets, see our guide on how to add an image gallery in Elementor free.
What Are the Common Problems With Comparison Sliders?
The most common problem is a slider that does not move. This usually happens when the addon JavaScript fails to load, which can be caused by a caching plugin serving an old page, a JavaScript error from another plugin, or a conflict with your theme. The second common problem is images that do not line up. This happens when the two images have different sizes or different framing. Fix it by cropping both images to the same dimensions before you upload them.
A third problem is a slider that looks fine on desktop but breaks on a phone. This is often caused by a section width that is too wide for small screens, or by labels that are too long and overflow the image. A fourth problem is slow loading, because two large images load at once. Compress both images and consider lazy loading for sliders below the fold.
Which Method Should You Choose?
Choose Master Addons when you want a simple reliable widget plus a large set of other free widgets for your site. Choose Responsive Addons when you want a light plugin that is fast to set up, especially when you already use the Astra theme. Choose Sky Addons when you want more style options and a modern handle design. All three add a before after image comparison slider in Elementor free, and all three cost nothing. The official documentation at elementor.com explains how widgets work, and the plugin directory at WordPress.org is the safe place to check ratings and compatibility before you install any addon.
Frequently Asked Questions
Does Elementor free have a before and after image comparison widget?
No. Neither Elementor free nor Elementor Pro includes a built in before and after widget. You need a free addon plugin such as Master Addons, Responsive Addons, or Sky Addons, which each add a comparison widget to the Elementor panel at no cost.
Can I add a before and after slider in Elementor free without paying?
Yes. Install a free addon such as Master Addons for Elementor, Responsive Addons for Elementor, or Sky Addons for Elementor from the WordPress plugin directory. Each one adds a comparison widget that works with Elementor free.
Why do my before and after images not line up?
The two images have different sizes or different framing. Both photos must show the same scene from the same angle, and both files must have the same dimensions. Crop them to match in an image editor before you upload them, and the slider will line up perfectly.
Do before and after sliders work on mobile phones?
Yes, when the widget supports touch dragging, which all three addons in this guide do. Test the handle on a real phone before you publish, keep the labels short, and make the handle large enough to grab with a finger.
Last updated: November 2026.