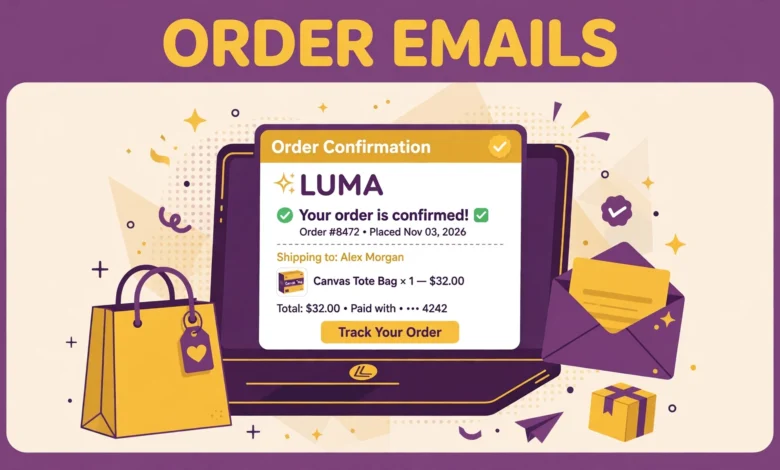
When a customer places an order, the order email is often the first message they read from your store. It confirms the purchase, lists what they bought, and sets the tone for everything that follows. Yet many store owners leave the default WooCommerce emails untouched, with a plain header, default colors, and no branding at all. You can customize WooCommerce order emails without plugin extras, using the built in settings first and a little code only when you need custom content. This guide walks through the full process, from simple branding to safe template overrides.
The key idea is to start simple and add complexity only where it earns its place. Most stores get 90 percent of the improvement from the built in settings: a proper sender name, a logo header image, brand colors, and clearer subject lines and headings. Code enters the picture only for custom messages, such as delivery notes or pickup instructions, and template overrides are for layout changes that settings cannot do. Working in that order keeps your emails stable through WooCommerce updates.
What Can You Change in WooCommerce Email Settings?
Open your WordPress dashboard, go to WooCommerce, then Settings, then the Emails tab. This page controls the sender details and the look of every WooCommerce email, plus the settings for each individual email type. It is the single most useful screen in this guide, so spend time here before touching any code.
At the top you will find the sender options. Set the “From” name to your store name, so customers recognise the sender instantly, and set the “From” address to a domain based address such as orders@yourstore.com. Avoid free mailbox addresses for order mail, because they look less professional and can hurt deliverability. Below that, the email template section lets you upload a header image, usually your logo, and pick the base text color, background color, body background color, and body text color to match your brand.
Scroll down to the list of emails, such as New order, Cancelled order, Processing order, Completed order, and Customer invoice. Click Manage on any email to edit its subject line, email heading, and additional content. The subject is what customers see in their inbox, so make it clear and specific. The heading is the large title inside the email itself. Additional content appears below the order table and is perfect for short notes such as delivery times, pickup instructions, or a thank you message. A well written additional content line often removes the need for custom code entirely.
How Do You Preview Your Email Changes?
WooCommerce does not include a full visual preview button for every email, so the reliable way to preview is to send a real test order through your store. Create a test product with a low price, or use a coupon to reduce the total, place an order as a customer would, and read the email on both desktop and phone. Check that the logo looks sharp, colors are readable, links work, and the order table is not cut off on a narrow screen.
Test more than one email type. The processing order email is the one most customers see first, but the completed order email matters just as much, because it often carries delivery or download information. If you change additional content for one email, test that email specifically, not just the first one in the list. Repeat the test after any color or header change, because a color that looks good on your website may be hard to read on a white email background.
For safe testing, practise on a staging copy of your store first. Our guide on how to create a WordPress staging site without a plugin shows the setup, and it lets you place test orders without touching live customer data. Once the design looks right on staging, copy the same settings to the live store.
How Do You Add Custom Content With a Hook?
When the additional content box is not enough, for example when you want different text for different order types, you can add content with the woocommerce_email_after_order_table hook. This hook runs right after the order details table in the email, and it lets you print extra HTML for specific emails only. Add the code to your child theme functions.php file, never to the parent theme, so updates do not wipe it out. If you do not have one yet, follow our guide on how to create a WordPress child theme first.
The example below adds a short delivery note to the customer processing order email only. The code checks the email ID, so it does not appear in admin emails or other customer emails:
add_action( 'woocommerce_email_after_order_table', 'my_store_delivery_note', 10, 4 );
function my_store_delivery_note( $order, $sent_to_admin, $plain_text, $email ) {
    if ( $email->id === 'customer_processing_order' ) {
        echo '<p>Thank you for your order. We pack orders within one working day and share tracking details as soon as your parcel ships.</p>';
    }
}
Change the email ID to target a different email, such as customer_completed_order for the completed email. Keep the message short, because long blocks of text after the order table can bury important details. If the same note belongs in every customer email, remove the email ID check and let it run for all of them, but test each email after the change to make sure nothing looks out of place.
You can use the same approach for other useful additions, such as pickup instructions for local orders, a link to your returns page, or a reminder about a coupon for the next purchase. Pair this with good store settings: for example, if you also create a coupon code in WooCommerce, mention it in the completed order email to encourage a repeat purchase without sounding pushy.
How Do You Override an Email Template Safely?
Template overrides are for layout changes that settings and hooks cannot do, such as reordering sections, changing the order table markup, or adding a branded footer. WooCommerce lets you override any email template by copying it from the plugin into your theme. The rule that matters is simple: never edit plugin files directly. Plugin files are replaced on every update, so any direct edit will vanish, often without warning.
Copy the template file from woocommerce/templates/emails/ into yourtheme/woocommerce/emails/, keeping the same filename. For example, to change the processing order email, copy customer-processing-order.php into your child theme at yourtheme/woocommerce/emails/customer-processing-order.php. WooCommerce will then use your copy instead of its own, and updates will not overwrite it. The WooCommerce developer documentation at developer.woocommerce.com explains template overrides in detail.
After overriding, keep the override minimal. Change only the part you need and leave the rest of the template untouched, so future WooCommerce changes stay compatible. WooCommerce shows a warning in the system status screen when an overridden template is out of date, so check that screen after major updates and compare your copy with the new version. If you only need a short text change, prefer the additional content box or a hook over a full override, because less code means less maintenance.
Why Do WooCommerce Emails Land in Spam?
A beautifully branded email is useless if it lands in spam. This is usually a sending problem, not a design problem. By default, WordPress sends mail through the server PHP mail function, which many inbox providers distrust, especially for a store domain. The fix is to send through a proper SMTP service or a transactional email provider, using your domain address and correct domain authentication records.
Before blaming the template, check the basics: send a test order to a Gmail address and a second inbox provider, check the spam folder, and confirm the sender name and address look like your store. If test mail reaches one provider but not another, the problem is almost certainly authentication or sending reputation, not your colors or logo. Fix sending first, then polish design, because no amount of branding rescues mail that never arrives.
Also keep your order emails focused. Every extra image, link, or promotional banner increases the chance of a spam filter flagging the message. Order emails should confirm the order clearly, then add one helpful note at most. Save heavy promotions for marketing emails, and keep transactional mail clean, fast to read, and useful. That habit also helps the rest of your store: clear communication reduces support questions, just as clear product pages do, as in our guide to WooCommerce product variations and our guide to setting a minimum order amount in WooCommerce.
How Do You Test With a Real Order?
- Place a real test order as a customer, using a real email address you control, and read the email on desktop and phone.
- Check the sender name, subject line, logo, colors, order table, totals, and any custom content you added.
- Test each email you changed, not just the processing order email, including completed and refunded emails where relevant.
- Click every link in the email to confirm it opens the right page and no link is broken.
- Check the spam folder, then fix sending with SMTP if mail is filtered, before changing the design again.
- After a WooCommerce update, retest overridden templates and check the system status screen for outdated template warnings.
A final testing tip: ask a friend or colleague to read the test email without any explanation. If they can tell what they ordered, what happens next, and where to get help, the email works. If they are confused, simplify the wording before adding more design. Clarity beats decoration in every transactional email.
Frequently Asked Questions
Can I customize WooCommerce emails without a plugin?
Yes. The built in WooCommerce email settings cover sender details, header image, colors, and per email subject, heading, and additional content. Hooks and template overrides handle the rest, so most stores never need an email customizer plugin.
Is it safe to edit WooCommerce email templates directly?
No. Never edit files inside the WooCommerce plugin folder, because updates replace them and your changes will be lost. Copy the template into your child theme under yourtheme/woocommerce/emails/ instead, and WooCommerce will use your copy safely.
Why does my custom email content not appear?
The usual causes are a wrong hook name, a wrong email ID check, or code added to the parent theme instead of a child theme. Check the hook name woocommerce_email_after_order_table, confirm the email ID matches the email you are testing, and test with a real order for that exact email type.
How do I stop WooCommerce order emails going to spam?
Use a domain based sender address and send through SMTP or a transactional email provider instead of the default server mail. That is a sending fix, not a design fix, so sort out authentication and sending reputation before redesigning the template.
Last updated: November 2026.