Every WordPress site starts with a tidy media library, and almost every site ends with a mess. You upload a logo, a few blog images, product photos, and a PDF or two, and after a year you are scrolling through hundreds of files named like IMG_4821.jpg trying to find one banner from last spring. WordPress gives you a single flat library with no folders, so the longer your site runs, the harder it is to find anything or clean up files you no longer need.
This guide works through all three levels in order, from the free tools you already have to the plugin route, and it also warns you about the one shortcut that looks tempting and breaks your image URLs.
Why Does the WordPress Media Library Feel So Messy?
WordPress stores every upload in one flat list, sorted by date by default. There is no folder tree, no category column, and no way to group images by post, product, or purpose without extra work. The files live in dated folders on the server, but the library screen ignores that structure and shows everything together.
The second problem is naming. Most uploads keep the file name your camera, phone, or designer gave them, which tells you nothing about where the image belongs. A file called DSC0042.jpg could be a hero image, a product shot, or a team photo, and the only way to tell is to open it.
What Built-in Tools Can You Use Before Installing Anything?
Before you reach for a plugin, try the tools WordPress already gives you. They will not give you folders, but they make a medium sized library much easier to work with.
- Date filter: at the top of the library, the month dropdown lets you jump to all files uploaded in a given month. If you remember roughly when you uploaded an image, this narrows hundreds of files to a few.
- Type filter: the second dropdown filters by file type, such as images, audio, video, or documents. This is the fastest way to find a PDF or a video buried among photos.
- Search box: searching by file name or title works well if your files have descriptive names.
- List view: switch from the grid to the list view using the icon near the top left. List view shows the file name, author, upload date, and attached post, which the grid hides.
- Attachment details: click any file to see its details, edit its title, alt text, and caption, and see which post it is attached to. Editing the title here also improves search results inside the library.
These tools are enough for many small blogs, especially if you also rename files before upload. They fall short on large sites because none of them groups files by topic or purpose. If you run a shop with hundreds of product images or a blog with years of featured images, you need a real grouping system.
How Can You Use Attachments as a Weak Folder System?
Every media file in WordPress can be attached to one post or page. When you insert an image while editing a post, WordPress attaches it to that post automatically. You can use this as a rough grouping system: open a post, look at its attached media, and you have a small collection of everything that belongs to that post.
To see attachments, open the library in list view and look at the Uploaded To column. Files attached to a post show the post title there, while unattached files show a link to attach them. It has clear limits. A file can only be attached to one post, so an image used in three posts still belongs to only one of them. Treat attachments as a helpful clue, not as a filing system.
If your site is growing and your hosting plan feels tight, it is worth checking whether your plan still fits your media habits. Our web hosting guide explains how storage, bandwidth, and backup features affect a WordPress site with a large media library.
How Do You Add a Real Media Taxonomy With a Few Lines of Code?
The cleanest free method is to register a custom taxonomy for attachments, the same way WordPress registers categories for posts. Once it exists, you can tag any image with terms like Blog Images, Product Photos, or Team, then filter the library by those terms. The code is short, about ten lines, and it belongs in a small site specific plugin, not in your theme. For the official function reference, see Developer.WordPress.org and the media documentation on WordPress.org.
Create a tiny plugin by adding a PHP file to wp-content/plugins, for example media-folders.php, with a plugin header and this code:
<?php
/*
Plugin Name: Media Categories
Description: Adds a Media Category taxonomy to the WordPress media library.
*/
function my_media_categories() {
    register_taxonomy( 'media_category', 'attachment', array(
        'labels' => array( 'name' => 'Media Categories' ),
        'hierarchical' => true,
        'show_admin_column' => true,
        'show_ui' => true,
    ) );
}
add_action( 'init', 'my_media_categories' );
After activating the plugin, a Media Categories menu appears under Media in the dashboard, and every attachment gets a category box in its details panel. You can create hierarchical terms, such as Products with child terms for each product line, and the library gains a filter dropdown for them. The files themselves never move, so no URL changes and no broken images.
One caution: always test a new plugin on a staging copy first, and always keep a backup before changing site structure. Our guide on how to create a WordPress staging site without a plugin shows a safe way to test, and our guide on how to backup a WordPress database without a plugin covers the backup side, so a small experiment can never turn into a big problem.
What Do Media Folder Plugins Actually Do?
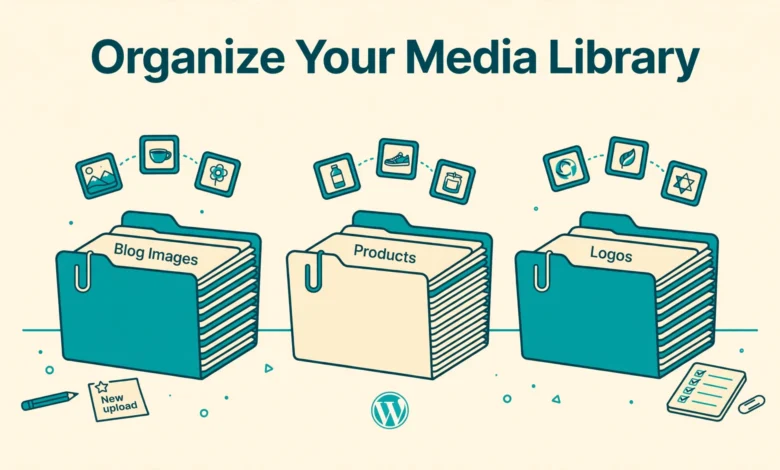
If you want a visual folder tree with drag and drop, a plugin is the fastest route. Popular media folder plugins create a virtual folder structure in the library: you see folders in a sidebar, drag images into them, and filter by folder with one click. The folders are virtual, which means they are stored as taxonomy terms or plugin data in the database, not as real directories on the server. Your image URLs stay exactly the same, which is why this approach is safe.
When choosing a plugin, look for these features. First, drag and drop between folders, including moving many files at once. Second, a folder filter that works in the media picker inside the post editor, not only on the main library screen. Third, compatibility with your page builder and with the block editor. Fourth, an option to sort folders, rename them, and delete empty ones without deleting the files inside.
Keep the folder tree shallow. Three or four top level folders, such as Blog, Products, Pages, and Brand, with a few subfolders under each, will serve you far better than a deep tree with fifty folders. A deep tree costs more clicks than it saves. Name folders for how you search, not for how your site is built.
Why Should You Never Organize Files Through FTP Folders?
The tempting shortcut is to open your hosting file manager or an FTP client, create real folders inside wp-content/uploads, and drag images into them. Do not do this. WordPress stores the full URL of every image in the database, and moving a file changes its URL. Every post, page, and product that used that image now points to a location that no longer exists, and your site fills up with broken images. Fixing that means a database search and replace.
Real folders also fight against how WordPress uploads work. New uploads always land in the dated month folder, not in your handmade folders, so the structure you built by hand starts decaying the moment you upload the next image. Virtual folders give you the same visual organization with none of the broken URL danger, so there is no good reason to move files by hand.
What Naming and Cleanup Habits Keep the Library Tidy?
Tools alone will not save a library if every upload still arrives with a camera file name. A few habits at upload time do more than any plugin.
- Rename before upload: give every file a descriptive, hyphenated name such as wordpress-seo-checklist-cover.jpg before you upload it. Search, alt text, and SEO all improve at once, and our guide to WordPress image SEO tips explains the full naming and compression routine.
- Set alt text at upload time: write a short, honest description of the image while the context is fresh. It helps accessibility, image search, and your own library search later.
- Delete unused uploads monthly: open the library, switch to list view, sort by unattached, and review files with no parent post. Delete test uploads, duplicates, and old versions you replaced.
- Compress before upload: resize images to the size your theme actually displays, and compress them. A library full of 5 MB originals slows backups and eats hosting storage.
- Reuse instead of re-uploading: before uploading a new version of a logo or banner, search the library first. Reusing one file keeps your site consistent and your library small.
- Review your dashboard habits: if you are new to the admin area, our guide explaining the WordPress dashboard for beginners shows where the media screens live and how they connect to posts and pages.
Start with the simplest fix today: rename your next five uploads before you add them, set their alt text, and put them in a folder or category right away. Then schedule a monthly fifteen minute cleanup, and your library will stay organized without a big weekend project.
Frequently Asked Questions
Does WordPress have a built-in folder system for media?
No, WordPress has no built-in folders for the media library. It offers date and type filters, search, list view, and attachment grouping, but no folder tree. To get folders you need either a small taxonomy snippet, which adds categories, or a media folder plugin, which adds a virtual folder sidebar. Both approaches keep your file URLs unchanged.
Will organizing my media library change my image URLs?
Not if you use virtual folders or a taxonomy. Those methods store the organization in the database and leave the files exactly where they are, so every URL stays the same. Moving files by hand through FTP or a file manager does change URLs and breaks images, which is why you should never reorganize that way.
Can I put one image in two folders at the same time?
With a taxonomy, yes: an image can carry several category terms at once, so it can appear in both Blog Images and Featured, for example. Most virtual folder plugins, by contrast, allow only one folder per file, like a real filing cabinet. If you need overlapping groups, the taxonomy approach is the better fit.
What should I do with hundreds of already uploaded files?
Do not try to organize everything in one sitting. Set up your folders or categories first, then organize in small batches, such as one month of uploads per session, starting with the newest files you use most. Rename only files you actually reuse, and delete obvious duplicates and test uploads.
Last updated: November 2026.